At-Home Gel Nails: The Essential Tools You Need – and How to Care for Them

At-Home Gel Nails: The Essential Tools You Need – and How to Care for Them
Doing gel nails at home has become a favorite way to get salon-quality results without leaving the house. With the right tools and a bit of practice, you can create glossy, long-lasting nails that look professionally done. But to achieve a beautiful and safe result, you need both the proper equipment and a good understanding of how to care for your nails and tools. Here’s your guide to what you’ll need—and how to make the most of your at-home gel nail kit.
The Must-Have Tools for Gel Nails
When it comes to gel nails, having the right products and tools makes all the difference. Here’s what you’ll need to get started:
- UV or LED lamp – This is what cures (hardens) the gel polish. LED lamps cure faster, while UV lamps are often compatible with a wider range of products.
- Base coat and top coat – The base coat protects your natural nails and helps the gel adhere properly, while the top coat seals the color and adds shine.
- Builder gel or gel polish – Choose builder gel if you want to extend or strengthen your nails, or gel polish if you’re simply adding color.
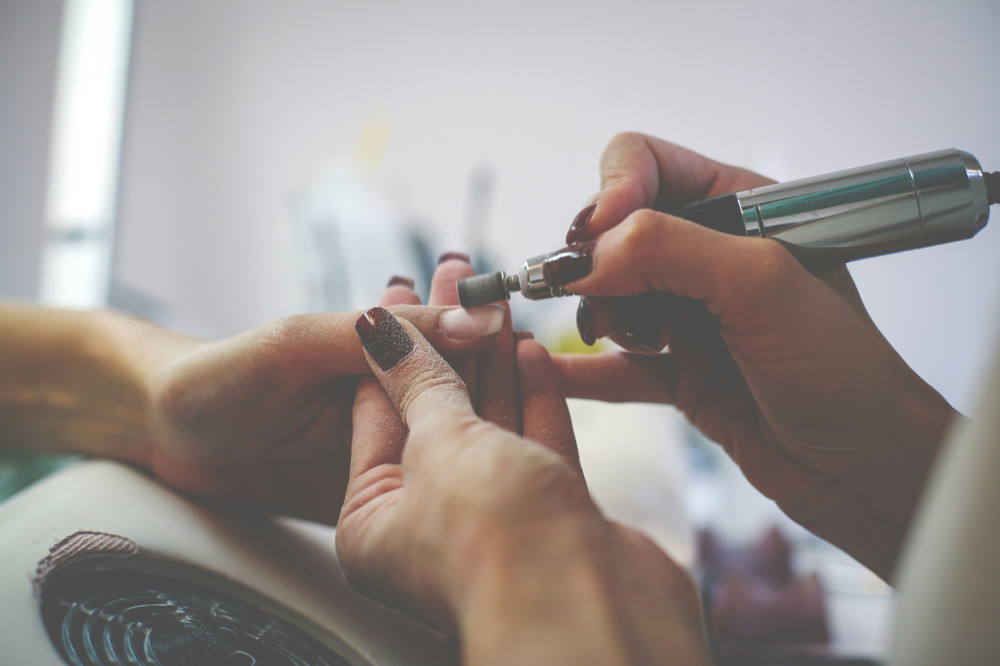
- Nail file and buffer – Use these to shape your nails and gently remove shine from the surface so the gel adheres better.
- Cuticle pusher and cuticle oil – These help prep your nails and keep your cuticles healthy.
- Cleanser or rubbing alcohol – Used to remove the sticky residue that can remain after curing.
- Brush and nail forms (optional) – If you’re building nails from scratch, you’ll need a brush to shape the gel and forms to create length.
It might sound like a lot, but once you have your kit, you can reuse most of it again and again—saving both time and money compared to regular salon visits.
How to Prep Your Nails
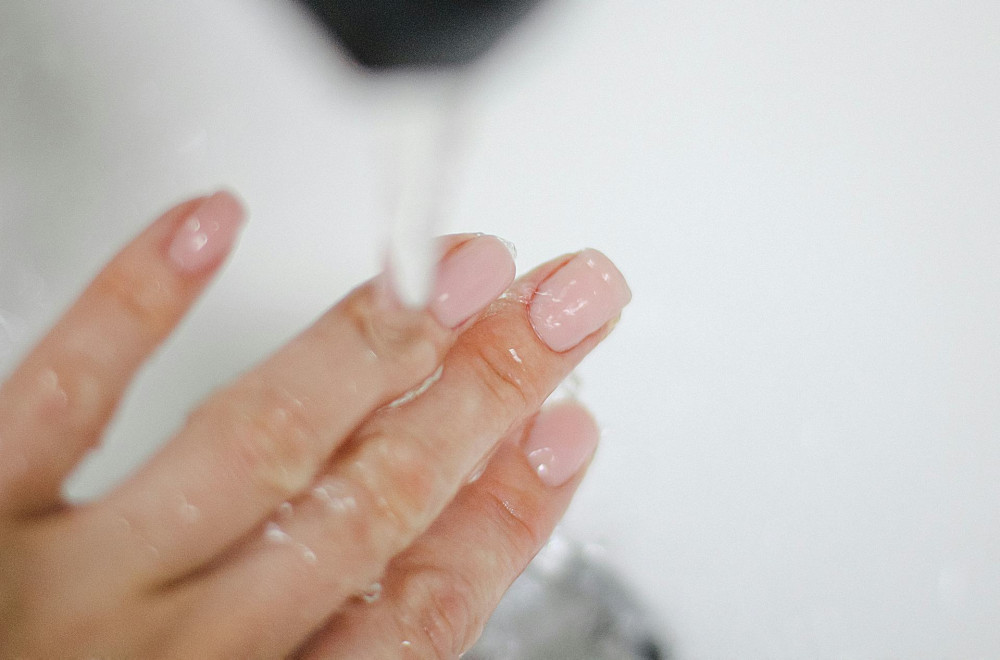
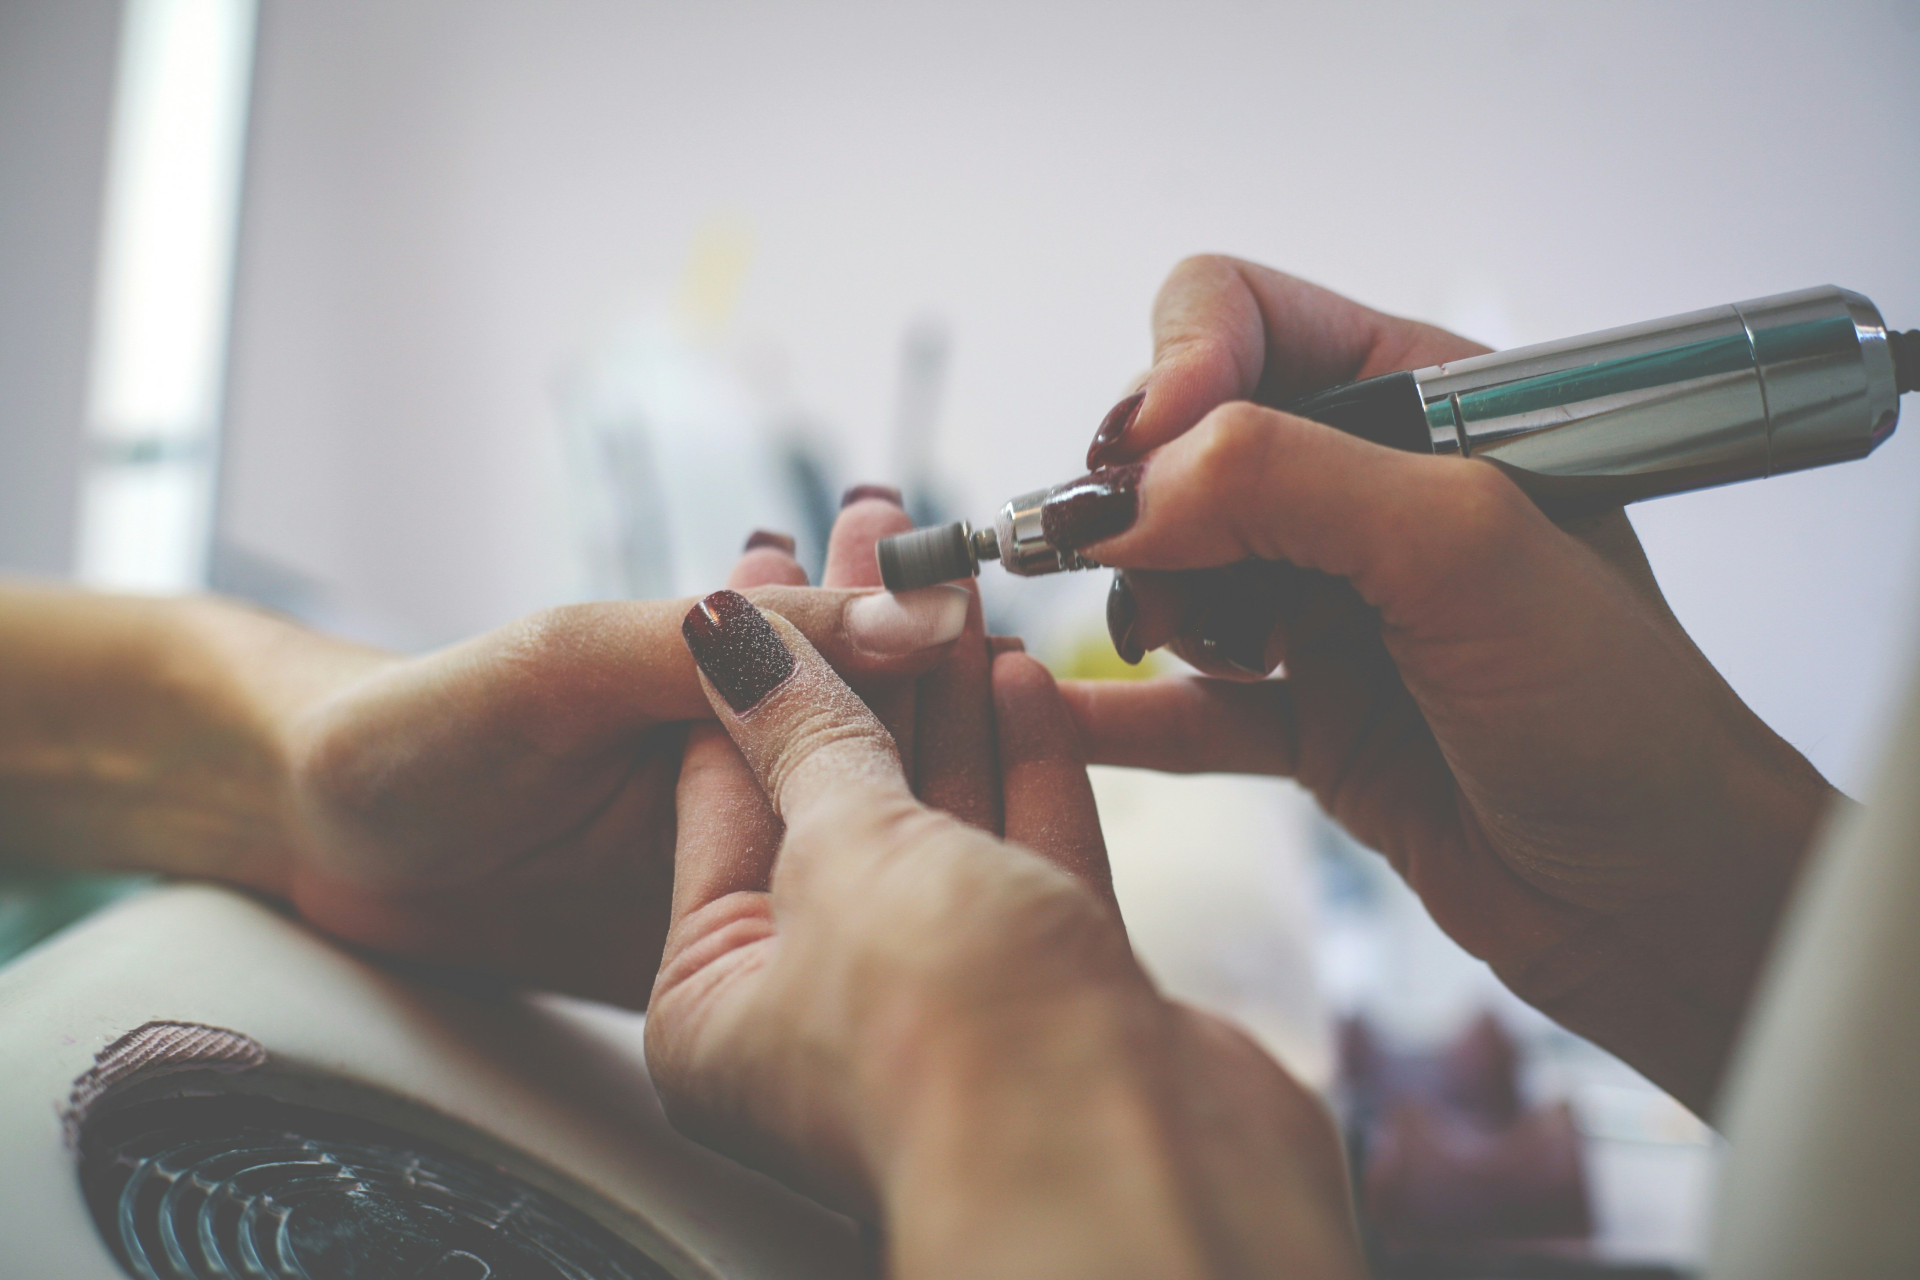
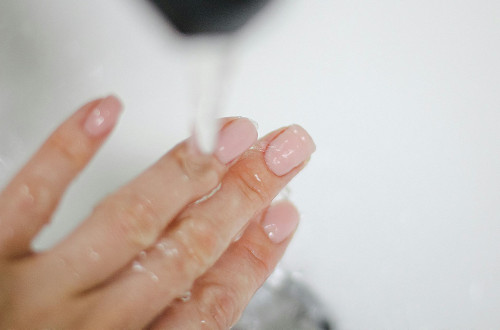
Proper preparation is key to a smooth, long-lasting finish. Start by washing your hands and removing any old polish. Gently push back your cuticles, then lightly buff the surface of your nails to remove shine and oils. This helps the gel adhere more securely.
Wipe your nails with cleanser or alcohol before applying the base coat. Avoid touching your nails afterward—any oil from your skin can cause the gel to lift later.
Step-by-Step Application
- Apply the base coat and cure it under the lamp for the time recommended by the manufacturer.
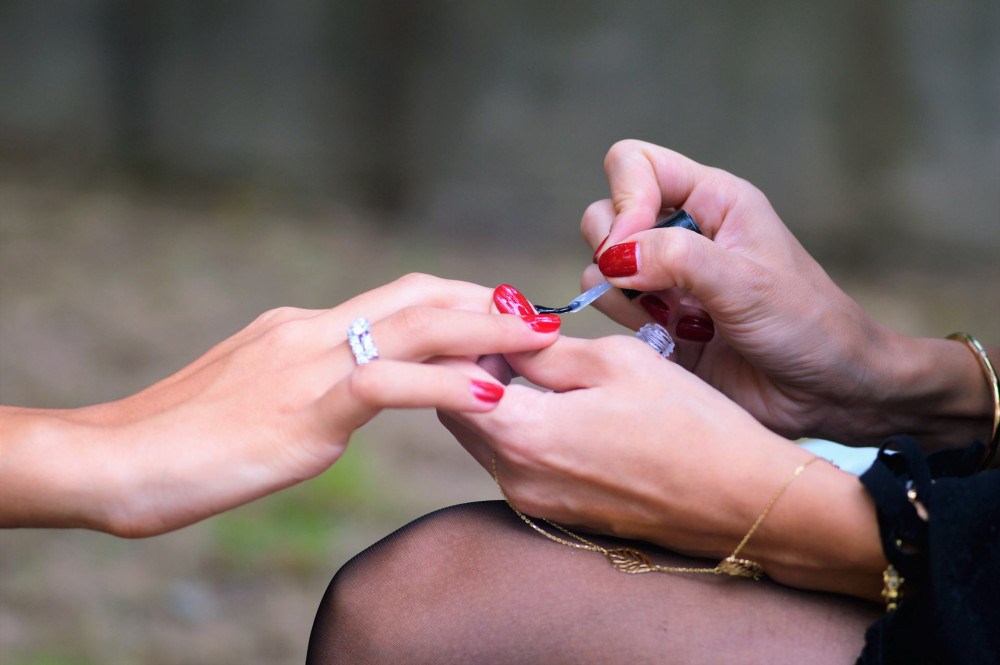
- Apply a thin layer of builder gel or colored gel polish. Thin layers look more natural and prevent the gel from flooding your cuticles.
- Cure each layer under the lamp.
- Finish with a top coat to seal and add shine.
- Wipe off the sticky layer with cleanser if your product requires it.
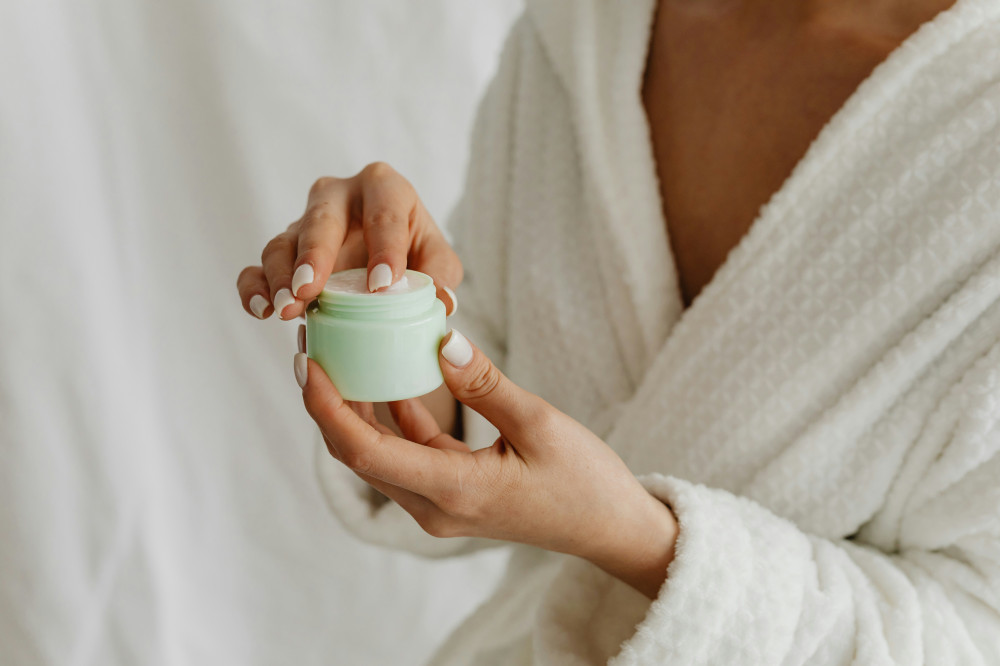
- Apply cuticle oil to nourish and hydrate your skin.
With a little practice, you can achieve a result that lasts two to three weeks.
How to Care for Your Tools
To get the most out of your gel nail kit, proper maintenance is essential:
- Clean brushes and tools after each use with cleanser or alcohol so the gel doesn’t harden on them.
- Store gels and polishes in a cool, dark place—light and heat can cause them to cure prematurely.
- Wipe down your lamp regularly to remove dust and residue that could affect curing.
- Replace files and buffers periodically, as they wear down over time.
Keeping your tools clean and well-maintained not only ensures better results but also reduces the risk of bacteria and infection.
Nail Care After Your Manicure
Even though gel nails are durable, your natural nails still need care. Apply cuticle oil daily, and avoid using your nails as tools—it can cause the gel to chip or lift. When it’s time to remove your gel, don’t peel it off. Instead, use a file or a gel remover to protect your natural nails from damage.
If you take breaks between manicures, treat your nails to a nourishing oil or strengthening treatment. This helps them stay healthy and resilient.
Læs også:
A Creative Ritual at Home
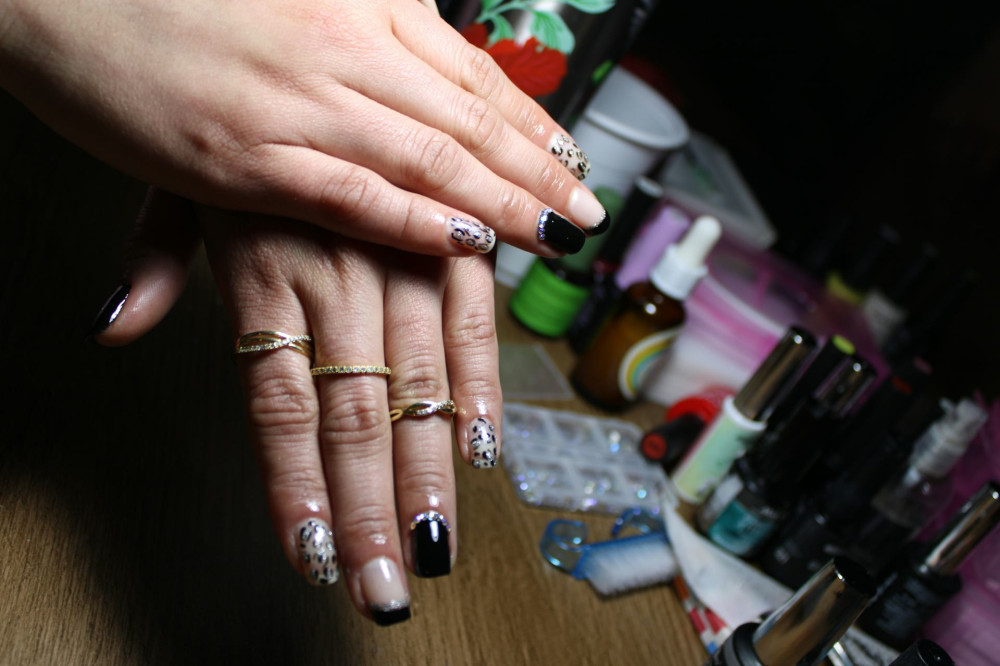
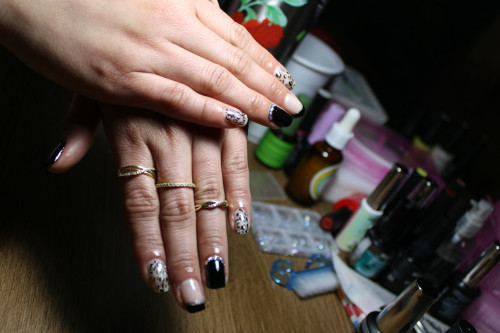
Doing gel nails at home isn’t just about having pretty hands—it’s also a relaxing and creative ritual. You can experiment with colors, patterns, and designs, turning your manicure into a moment of self-care. With the right tools and a bit of patience, you can create beautiful, long-lasting results that make you feel polished and confident every day.
Læs også: