How to Apply Nail Polish Like a Pro – Step-by-Step Guide


How to Apply Nail Polish Like a Pro – Step-by-Step Guide
Applying nail polish might seem simple, but the difference between a quick coat and a salon-quality manicure lies in the details. With the right preparation, technique, and a bit of patience, you can achieve a flawless, long-lasting finish at home. Here’s a step-by-step guide to help you apply nail polish like a pro—whether you’re a beginner or a seasoned DIYer.
Step 1: Prep Your Nails Thoroughly
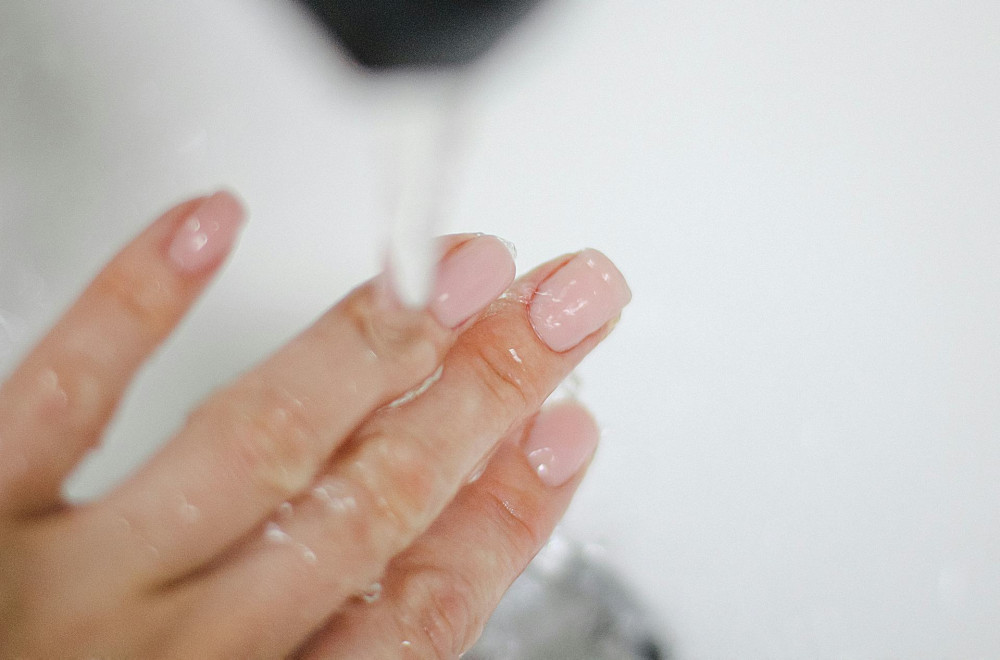
A perfect manicure starts with clean, well-prepped nails. Remove any old polish using a gentle, acetone-free nail polish remover to avoid drying out your nails. Wash your hands afterward and dry them completely.
Shape your nails with a nail file, always filing in one direction to prevent splitting. Gently push back your cuticles with a cuticle pusher—this creates a neat edge and helps the polish go on smoothly.
Finish your prep by lightly buffing the nail surface with a buffer block. This smooths out ridges and helps the polish adhere better.
Step 2: Apply a Base Coat
A base coat is the secret to a long-lasting, even manicure. It protects your nails from staining and gives the color something to grip onto. Apply a thin, even layer and let it dry completely before moving on.
If your polish tends to chip easily, look for a “grip” or “bonding” base coat for extra staying power.
Step 3: Apply the First Coat of Color
Gently roll the nail polish bottle between your hands to mix the color—avoid shaking, as it can create air bubbles. Dip the brush into the bottle and wipe off excess polish on the rim.
Start painting in the center of the nail, then move the brush toward the sides. Use thin, even strokes for a smooth finish. Try not to touch the cuticles or skin, as this can cause the polish to lift later.
Let the first coat dry for a few minutes before applying the next.
Læs også:

Step 4: Add a Second Coat for Depth and Coverage
The second coat enhances the color and gives your nails a professional look. Apply it the same way as the first—thin and controlled. For lighter or sheer shades, you can add a third coat if needed.
Allow each layer to dry thoroughly. It might take a bit more time, but it’s worth it for a longer-lasting manicure.
Step 5: Seal with a Top Coat
A top coat locks in color, adds shine, and protects against chips and scratches. Apply a thin layer over the entire nail, making sure to seal the tip by brushing over the edge. This helps prevent peeling.
There are different types of top coats—some add extra shine, others dry quickly or give a gel-like finish. Choose one that fits your needs.
Step 6: Clean Up the Edges
Even professionals make small mistakes. Use a small brush or a cotton swab dipped in nail polish remover to clean up any polish around the edges of your nails. This step gives your manicure a crisp, polished look.
Step 7: Moisturize and Care for Your Hands
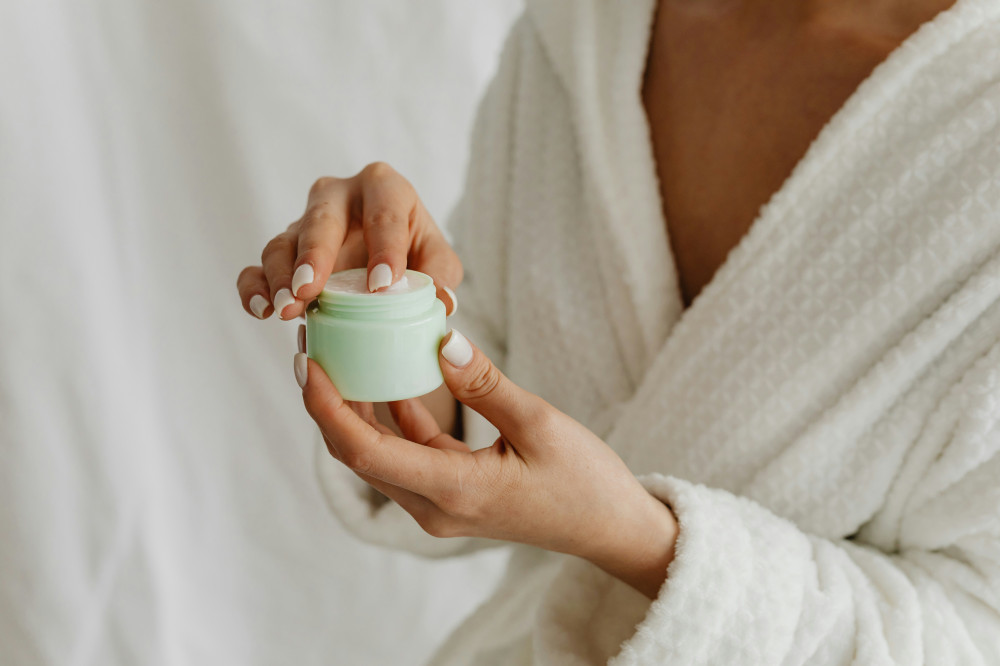
Once your polish is completely dry, finish with a drop of cuticle oil and a nourishing hand cream. This keeps your hands soft and your cuticles healthy.
To extend the life of your manicure, apply a fresh layer of top coat every two to three days. It helps maintain shine and prevents chipping.
Extra Tips for a Professional Finish
- Avoid moisture: Don’t wash your hands or shower right before painting your nails—moisture can prevent the polish from adhering properly.
- Work in thin layers: Thin coats dry faster and last longer than thick ones.
- Use good lighting: It helps you see where you’re applying the polish and avoid streaks.
- Be patient: Allow each layer to dry completely—patience is key to a flawless result.
With a little practice and the right products, you can easily achieve a salon-quality manicure at home. It’s not about speed—it’s about precision and care.
Læs også: